In this post we’ll explain a simple method to hide data (any type of data – text, image, malware, etc.) in a JPEG. This is a form of steganography. Steganography is the art and science of hiding something in plain sight. Why hide something in plain sight – overtly hide something? To not tip anyone off that there is a secret message or hidden data.
This post focuses on a technique, rather than a history lesson on steganography, so on to the gist…
1. Download and extract the JPHS (JPEG Hide and JPEG Seek) tool:
2. Download a cover image (the image you will hide the data inside of) and a hide image (the image you will hide inside the cover image):
The cover image should be roughly 10 times the size of the hide image. In our example, we will use a HD Background as the cover image and a picture of a cute kitten as the hide image.
-
Cover Image – background.jpg (found doing a Google search for “hd backgrounds”):
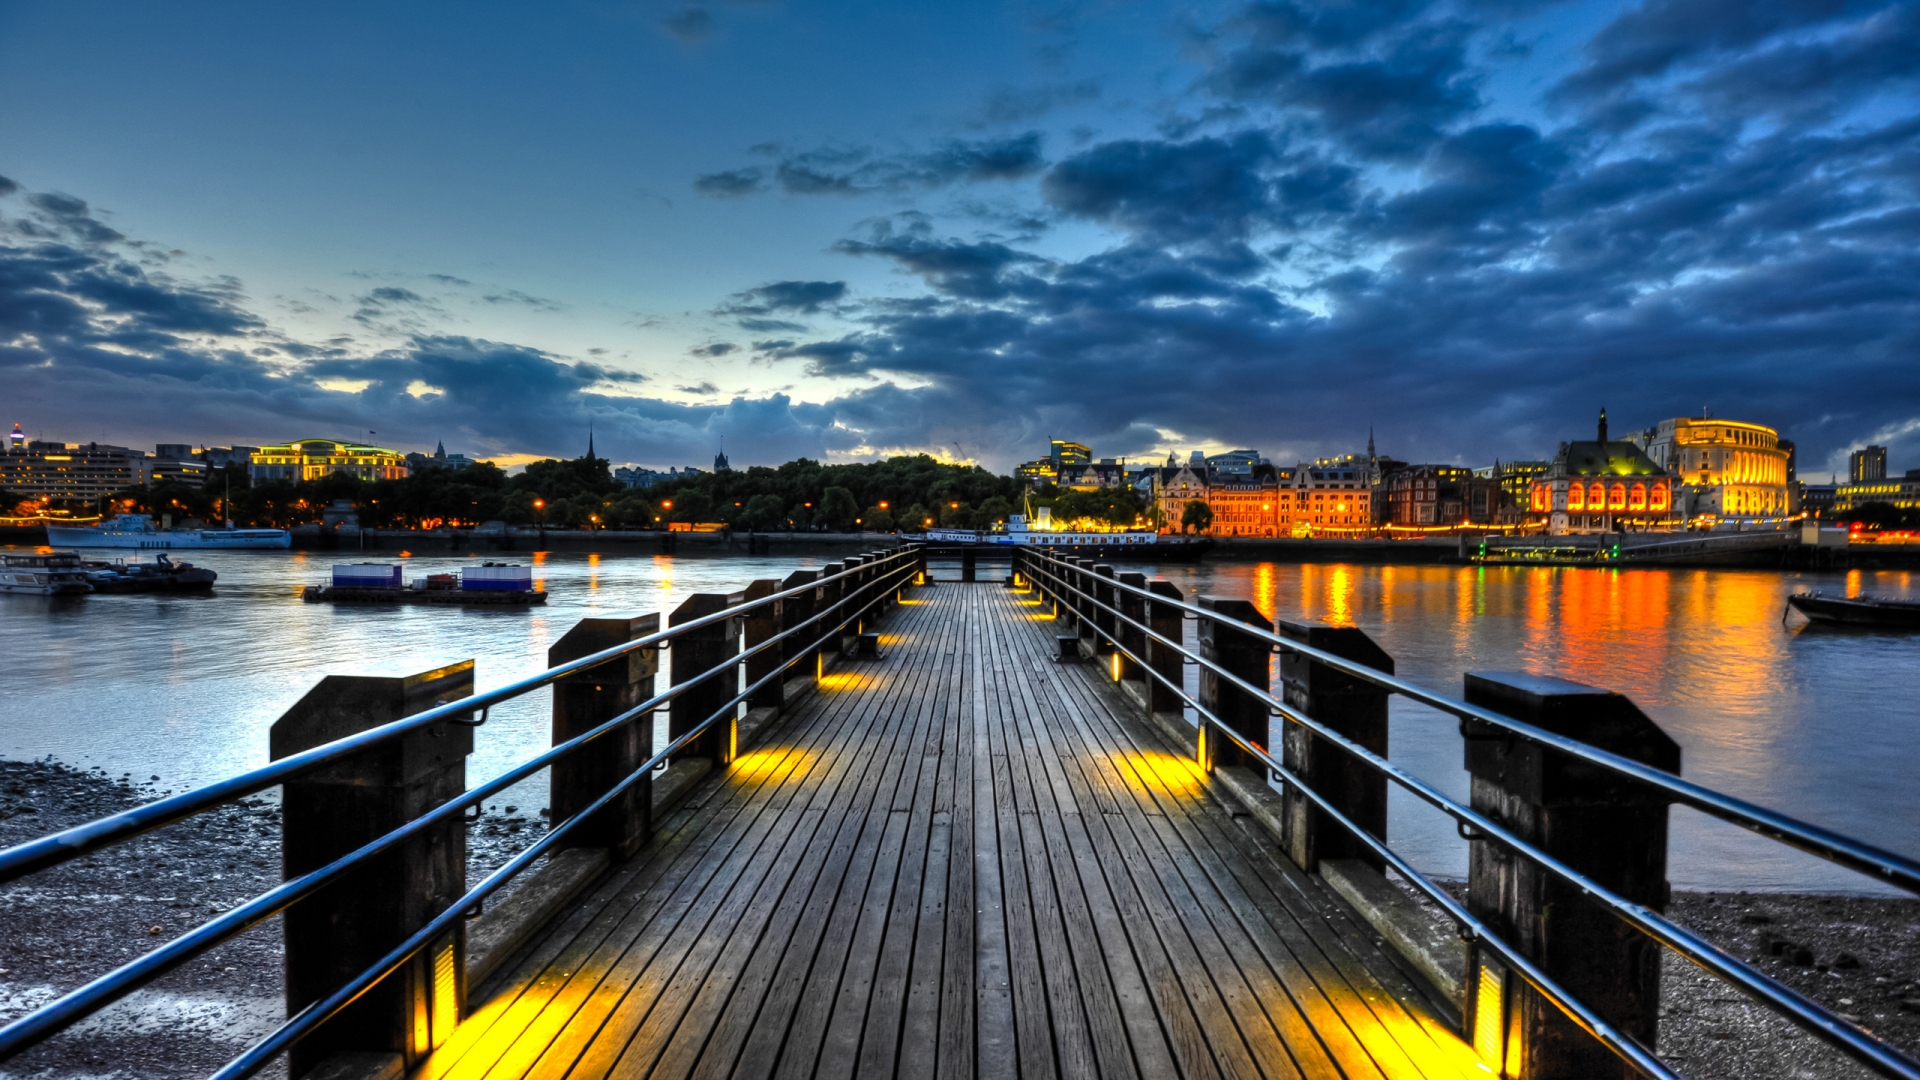 Source: http://hdgreatimages.com/wp-content/uploads/2016/04/Bridge-HD-Backgrounds.jpg
-
Hide Image – kitten.jpg (found doing a Google search for “lilbub”):

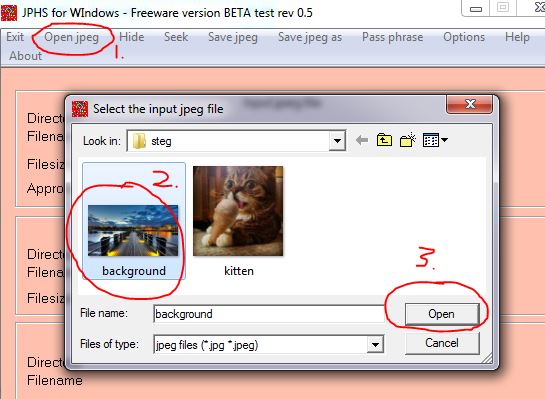
3. Run Jphswin. Accept the terms. Do the following:
Click on “Open jpeg”, select “background.jpg” and click “open”:
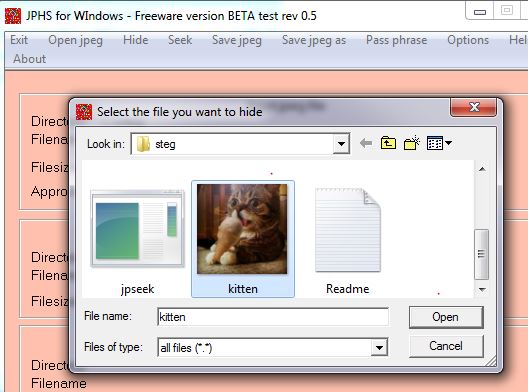
Click on “Hide”, enter a passphrase, click “OK”, then select the hide file (kitten.jpg), and click “Open”:
Save the steg’d file (the kitten.jpg file hidden in the background.jpg file) as another file name, so we can compare the new file containing the hidden data with the original file. Click “Save jpeg as” and use the file name “bridge.jpg” (or something different than the original name):

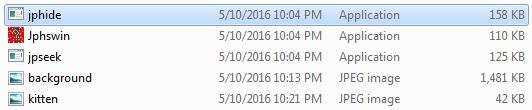
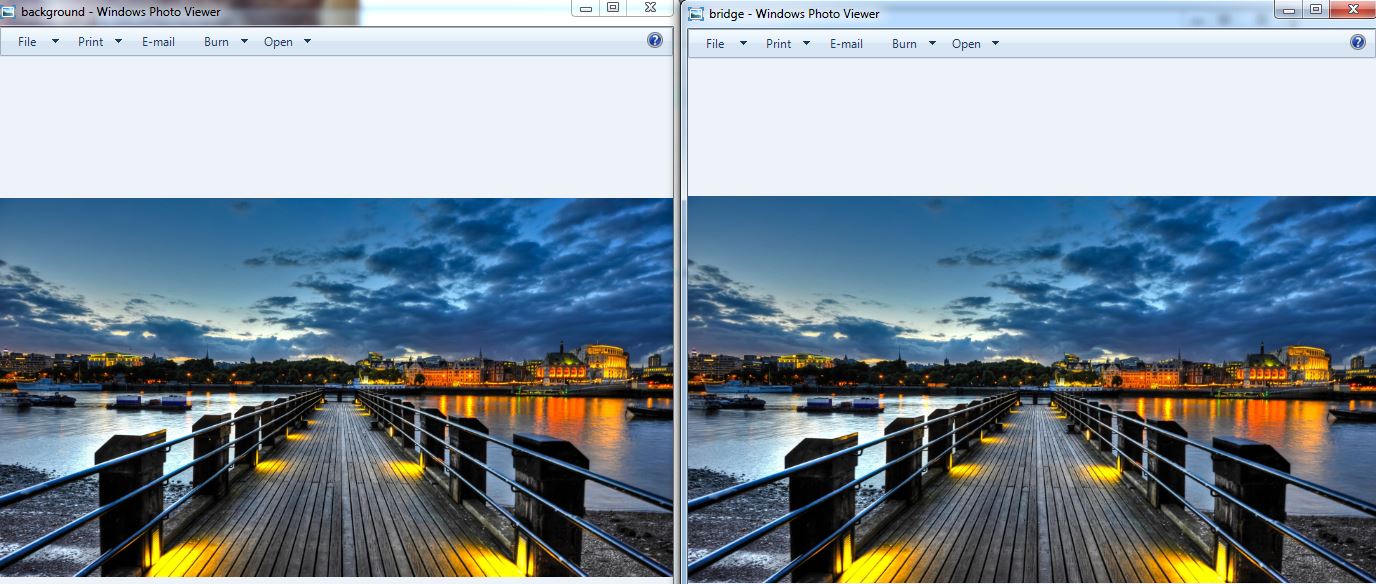
You should now see 3 files – the “background.jpg” should look the same (to the naked eye) as the “bridge.jpg” even though the “kitten.jpg” file is hidden inside “bridge.jpg”:

Open both “background.jpg” and “bridge.jpg” side-by-side in Windows Photo Viewer to see if you can tell a difference:
Congratulations! You’ve just practiced steganography.
Validation
Let’s validate our steganography demonstration actually worked by extracting the “kitten.jpg” from the “bridge.jpg”:
Using JPHS for Windows, select “Open jpeg”, select “bridge.jpg”, click “Open”:
Opening the image containing the hidden file in JPHS for Windows
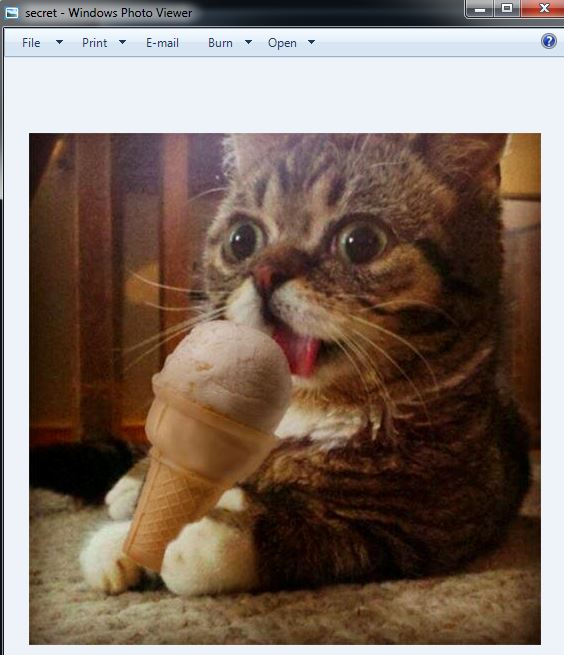
After you opened the “bridge.jpg” file click on “Seek”, enter the passphrase you used to hide the file, click “OK”, then save the hidden file as “secret.jpg”:
Verify the “secret.jpg” file is the same as the “kitten.jpg” file by opening “secret.jpg”.
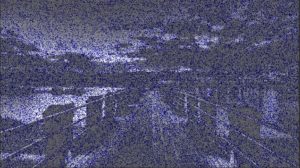
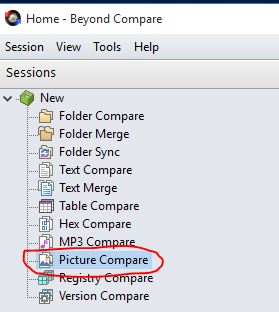
To validate which image pixels JPHS for Windows modified to hide the image in the cover image, you can use Beyond Compare to visually depict the differences. Download and install Beyond Compare. If you receive an “Error creating registry key:” you need to install as an Administrator.
Run Beyond Compare. On the left side, select “New”, the double-click “Picture Compare”:
Open the original picture (background.jpg) on the left window in Beyond Compare and open the steg’d picture (bridge.jpg) on the right window. The comparison should be in the bottom window:
Resources
Files used/referenced in this blog:
-
JPHS for Windows (This application is included in the jphs_05.zip)


